
Every intermediate driver has heard the instruction "get your braking done in a straight line." It's good advice — for about two seasons. Then it becomes the thing standing between you and the next two seconds. Trail braking is the technique that unlocks those seconds, and it's the first genuinely advanced skill most track drivers learn: carrying brake pressure past turn-in, tapering it toward the apex, and using the brakes not just to slow the car but to steer it.
This is the pillar guide for our Racecraft series. It covers what trail braking is, why it works, how to build it in stages, how to spot it (and its absence) in data, and where it applies — with real corners from our home track as worked examples.
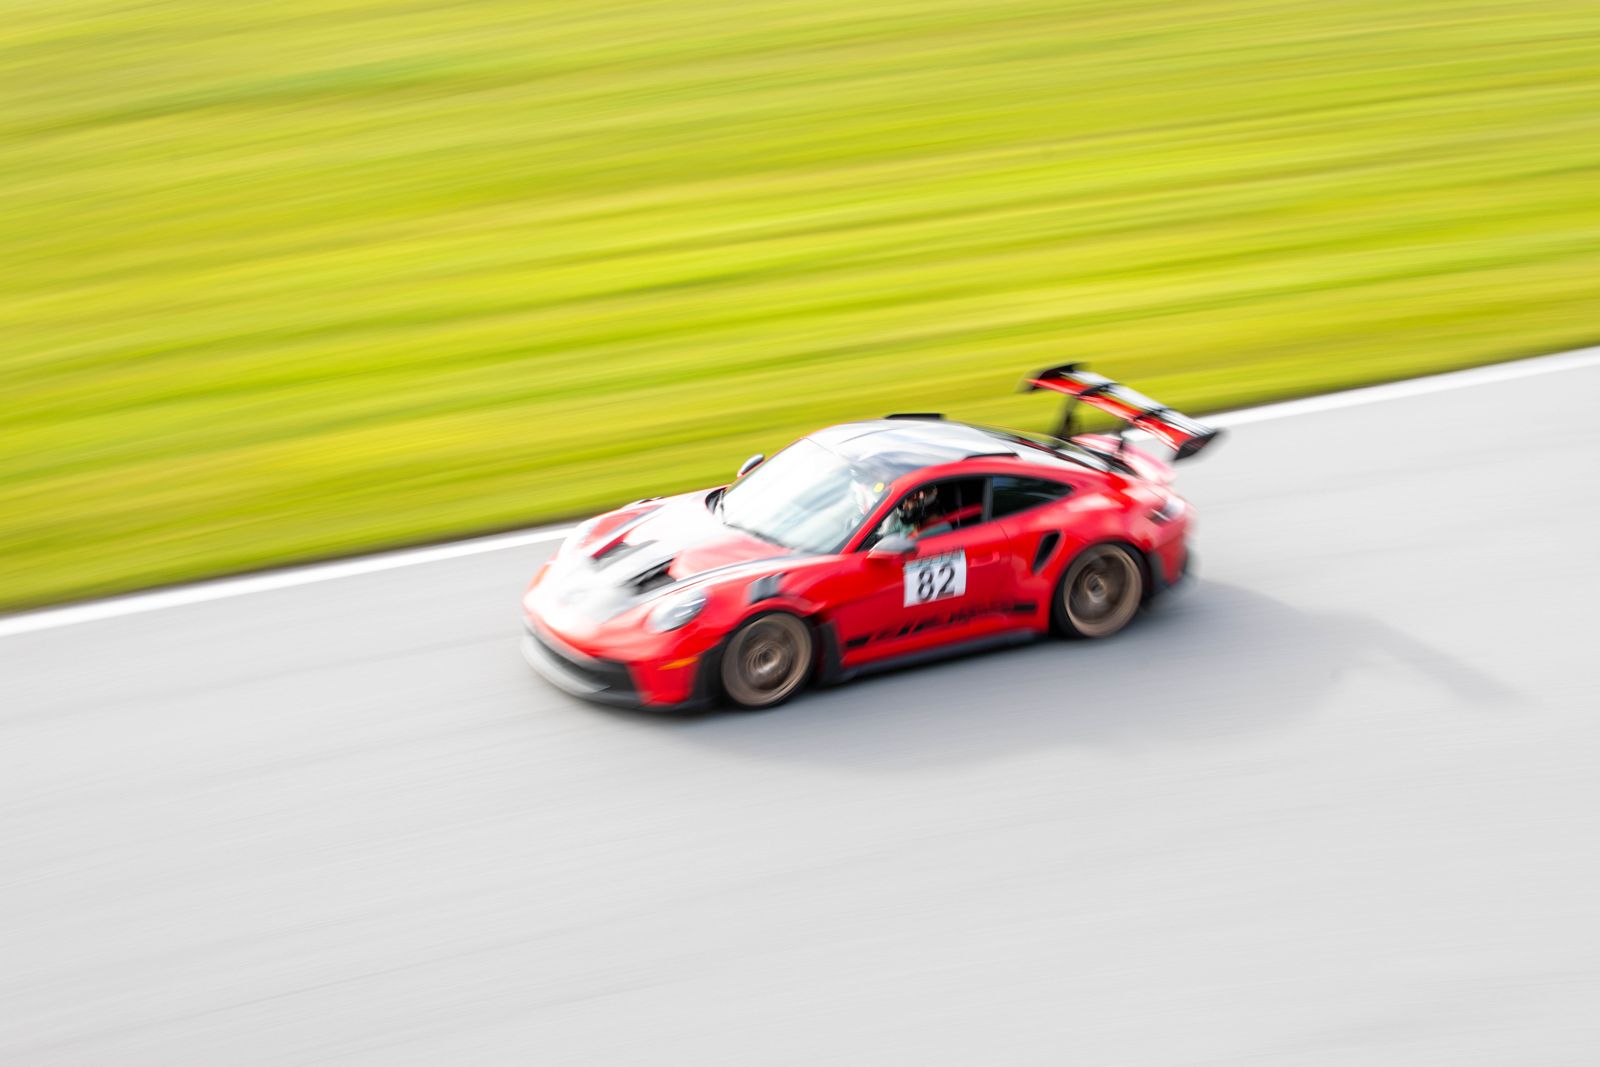
What trail braking actually is
Trail braking is the gradual release of brake pressure after turn-in, instead of a full release before it. That's the whole definition. The stereotype — braking impossibly late and hurling the car at the apex — is a caricature. Real trail braking is usually mundane to watch: the driver brakes slightly earlier than maximum, at slightly less than maximum pressure, and trades the last portion of the braking zone for a longer, blended arc into the corner.
The point isn't later braking. The point is what the remaining brake pressure does to the car after you turn the wheel.
The physics: why the front tires care
Two things happen when you brake. The car slows, and weight transfers forward. That forward transfer presses the front tires into the pavement and gives them more grip — and unloads the rears, giving them less.
Now recall the tire's fundamental constraint: a tire has one budget of grip to spend across braking and cornering combined — the traction circle. Ask for 100 percent braking, and there's nothing left for turning. But ask for 60 percent braking, and the front tires — which are carrying extra load from weight transfer — can spend the rest on steering. The car turns in harder than it ever could off-throttle, because you've loaded the exact tires doing the steering.
Meanwhile the light rear does something useful too: it comes around. Not sliding — rotating. The car's balance shifts toward oversteer, the nose points toward the apex sooner, and you need less steering lock, which itself frees up front grip. That rotation is the real product. Fast drivers don't trail brake to brake later; they trail brake to rotate the car so they can get to throttle earlier. It's an exit tool disguised as an entry tool.
The release is the skill
Here's what separates drivers who trail brake from drivers who think they do: the release. Anyone can keep their foot on the pedal past turn-in. The skill is the taper — a smooth, progressive bleed from your entry pressure down to zero, timed so the pedal reaches nothing right as the car reaches maximum steering angle, near the apex.
Release too fast and the front unloads abruptly — the car washes into understeer just when you want the nose tucking in. Release too slow and you're still braking at the apex with the rear light, which is how trail braking gets its scary reputation. The pedal on release should feel like the last inch of a good handshake, not a light switch.
If you take one sentence from this guide: trail braking is a release technique, not an application technique.
Three corners, three releases
Abstract technique becomes real when you attach it to corner types. Here's how the same skill changes shape across the three archetypes you'll meet on any track:
The hairpin after a straight. Big braking zone, slow corner, long exit. This is maximum-trail territory: hard initial hit, then a release that lasts deep into the entry, using the rotation to point the car early so the throttle phase can start before the geometric apex. The release here is long and gradual — you're trading almost the entire second half of the braking zone into the corner. Most of the lap time trail braking will ever give you lives in corners like this.
The medium-speed corner with a shorter zone. Less total braking means less to trail — the release is shorter and subtler, sometimes just the last ten or fifteen percent of pedal carried past turn-in. The goal shifts from rotation to stability: keeping the nose loaded so turn-in is crisp, rather than actively steering the car with brake. Watch fast drivers here and you'll barely see it; feel their data and it's always there.
The crested or downhill entry. The advanced class. When the track falls away or the car crests mid-zone, available grip changes during the braking event, and your pedal has to follow it — pressure into the compression, release over the light spot, sometimes pressure again as the car settles. The Carousel entry at Mid-Ohio is the perfect teaching example: brake into the rise, relax over the crest as the corner starts bending. Corners like this are why the release skill matters more than the application: the track itself is modulating your grip budget, and only a soft, listening foot can keep up.
What the front axle is telling you
Trail braking runs on feedback, and the car broadcasts everything you need through two channels. The steering tells you about the front: if the wheel goes light and the car stops responding to added lock mid-entry, the fronts are saturated — you're asking for more combined grip than exists, and the fix is a faster release, not more steering. If the car turns in harder than expected and the rear starts walking, the release was fine but the entry speed or brake carry was too much for the rear's remaining budget.
Your backside tells you about the platform: a properly trailed entry has a distinct settled-nose feeling, the car pivoting from somewhere around your hips, rotation building smoothly rather than arriving as a step. The moment that rotation arrives as a step — a sudden yaw you didn't command — you've found the rear's limit, and next lap's release starts a fraction earlier. This calibration loop, run corner after corner, is the actual practice of trail braking. The pedal is just the output device.
Learning it in stages
Do not learn trail braking by braking later. Learn it by changing what your right foot does in braking zones you already know, at entry speeds you already trust.
Stage 1 — Awareness. For one session, just notice your release. Most self-taught drivers snap off the pedal at turn-in like it's hot. Do nothing but make the release deliberate, corner after corner. Same braking points, same speeds.
Stage 2 — Stretch the release. Brake at your normal marker with slightly less peak pressure, and let the release last past turn-in — 10 or 20 feet at first. You're not going faster yet. You're teaching your foot the taper and your backside the feel of the nose staying planted through turn-in.
Stage 3 — Feel the rotation. As the release stretches toward the apex, you'll notice the car turning in with less wheel than before. This is the moment the technique clicks: steering feels lighter, the apex arrives sooner, and the car feels like it's pivoting around your hips. Add speed only when the rotation feels boring.
Stage 4 — Move the brake point. Only now, having mastered the release, do you shift braking later — a marker at a time. Your total braking zone now overlaps the corner entry, and the stopwatch starts paying you.
One warning stage: pick your practice corners deliberately. Medium-speed corners with room on exit are the classroom. Learning trail braking in a 120-mph corner or one with a wall at the exit is how track insurance stories start. At Mid-Ohio, the China Beach left-hander and the Carousel entry are ideal — real braking zones, honest camber, forgiving run-off. The corner-by-corner guide flags which entries reward it.
Reading it in your data
Trail braking is one of the easiest skills to verify objectively, which makes it perfect for data-driven improvement. On a brake-pressure (or longitudinal G) trace overlaid with steering angle:
A driver who doesn't trail brake shows a rectangle: hard application, plateau, cliff-edge release — all before steering angle rises. The two traces never overlap.
A driver who trail brakes shows a right triangle: hard initial application, then a long descending slope of brake pressure that overlaps the rising steering trace, reaching zero near peak steering. The overlap region is the trail braking. Its length and smoothness are your report card.
The other tell is minimum corner speed location: non-trail-brakers hit minimum speed early, before the apex, then coast to it. Trail brakers carry the minimum right to the apex — the corner entry becomes part of the braking zone, and the whole speed trace shifts later and higher.
Where it applies (and where it doesn't)
Trail braking is not a religion; it's a tool matched to corner types.
High payoff: slow and medium corners after big braking zones, decreasing-radius corners, long corners where rotation sets up the exit, and double-apex complexes. The Carousel at Mid-Ohio is a textbook case — brake pressure bleeding over the entry crest, rotation to the first apex, patience to the second.
Low or negative payoff: fast sweepers where the car is already grip-limited laterally (a trailing brake just adds instability at 120 mph), chicane-type corners that reward straight-line braking and quick direction change, and corners where you arrive with barely any brake application at all. Some corners genuinely are "finish braking, then turn" corners — the skill is knowing which.
Car setup and platform matter too. Aero cars want smoother, earlier releases because the grip falls as speed falls. Mid-engine and rear-engine cars rotate more eagerly with the same input — a 911's rear weight bias makes it a natural rotator on entry, which is part of why the technique is so effective in our GT3 RS, and why the release discipline matters even more. If you drive a modern dual-clutch Porsche, we wrote a dedicated FAQ on trail braking with PDK, because the gearbox changes the footwork question entirely.
Setup: what the car brings to the technique
The same release produces different cars depending on setup, and knowing the levers saves you from blaming your foot for a hardware problem.
Brake bias is the big one. Forward bias makes trail braking safer and duller — the front saturates first, the car pushes instead of rotates, and you can carry brake deep with impunity. Rearward bias sharpens rotation and shrinks your margin in exactly the same motion. If your car has an adjustable knob, treat it as a rotation dial: a click rearward for slow-corner tracks where you need the car to turn, forward for fast tracks and rain. If it doesn't, know which way your car leans from the factory — most street cars are heavily forward-biased, which is why they understeer on entry no matter how nicely you release.
Pads and compound balance matter the same way: a more aggressive front pad is effectively forward bias. Drivers chasing entry rotation sometimes fix in five minutes with a pad change what they'd spent three weekends trying to fix with technique.
Alignment and rake. More front negative camber and softer front rebound both help the loaded front tires accept combined braking-plus-cornering. A nose-down rake change adds entry rotation everywhere. None of this is a substitute for the release skill — but a car set up to rotate lets you run a gentler, safer release for the same result, which is the trade you want.
ABS calibration deserves honesty: modern performance ABS (and especially motorsport-derived systems) has made trail braking dramatically more accessible. The system manages individual-wheel lockup during the messy overlap of braking and steering, which converts the worst-case outcome of a greedy release from a spin into a push. Learn as if it isn't there; be glad it is.
Threshold braking and trail braking: two skills, one zone
A common confusion worth untangling: threshold braking is the application skill — finding maximum deceleration at the start of the zone, when the car is straight. Trail braking is the release skill — managing the taper at the end, when the car is turning. A complete braking event needs both, in that order, and they're learned separately. Drivers who only threshold brake stop well and corner late; drivers who only trail brake enter beautifully from too little initial speed. The full event — hard, straight, confident application flowing into a soft, turning, listening release — is the whole art of corner entry in one pedal stroke. We'll cover the threshold side in its own guide as the Racecraft series grows.
Common failure modes
The stab-and-hold. Carrying constant pressure to the apex instead of tapering. The car stays pinned nose-down and won't take steering; feels like understeer, gets reported as understeer, is actually a release problem.
The early snap. Releasing everything at turn-in from habit. You did all the trail-braking setup and then threw it away — the data shows a rectangle with a steering trace politely waiting its turn.
Chasing the brake marker. Skipping to Stage 4 because braking later feels like progress. Later braking without the release skill just moves your mistakes deeper into the corner.
Trail braking everything. Applying it to fast corners to feel busy. Watch the exit speeds; the stopwatch will tell you where it belongs.
Ignoring the rears. On worn rear tires, in the wet, or with a cold rear axle, the same release that was neutral yesterday is oversteer today. Trail braking intensity is a dial you set every session, not a constant.
FAQ
Is trail braking dangerous? The technique isn't; learning it badly is. The risk is rear instability from too much brake carried too deep. Learned progressively — release first, speed last, in forgiving corners — it's one of the safest skills to acquire because every stage is an extension of what you already do.
Should beginners trail brake? Not in their first seasons. "Brake in a straight line" exists because novices need bandwidth for line, vision, and traffic. The right time is when your inputs are consistent lap to lap and straight-line braking is genuinely holding your entries back — typically around the transition from intermediate to advanced run groups on the HPDE ladder.
Do you trail brake every corner? No. Slow and medium corners after real braking zones, yes. Fast sweepers and chicanes, mostly no. Corner-by-corner judgment is the advanced part of the skill.
What does trail braking look like in data? Overlapping traces: brake pressure descending while steering angle rises, with brake reaching zero near peak steering, and minimum speed arriving at the apex rather than before it.
Follow the program
Track guides, TT strategy, and the Bradshaw Autosport race program — straight from the paddock.
Get in touch