
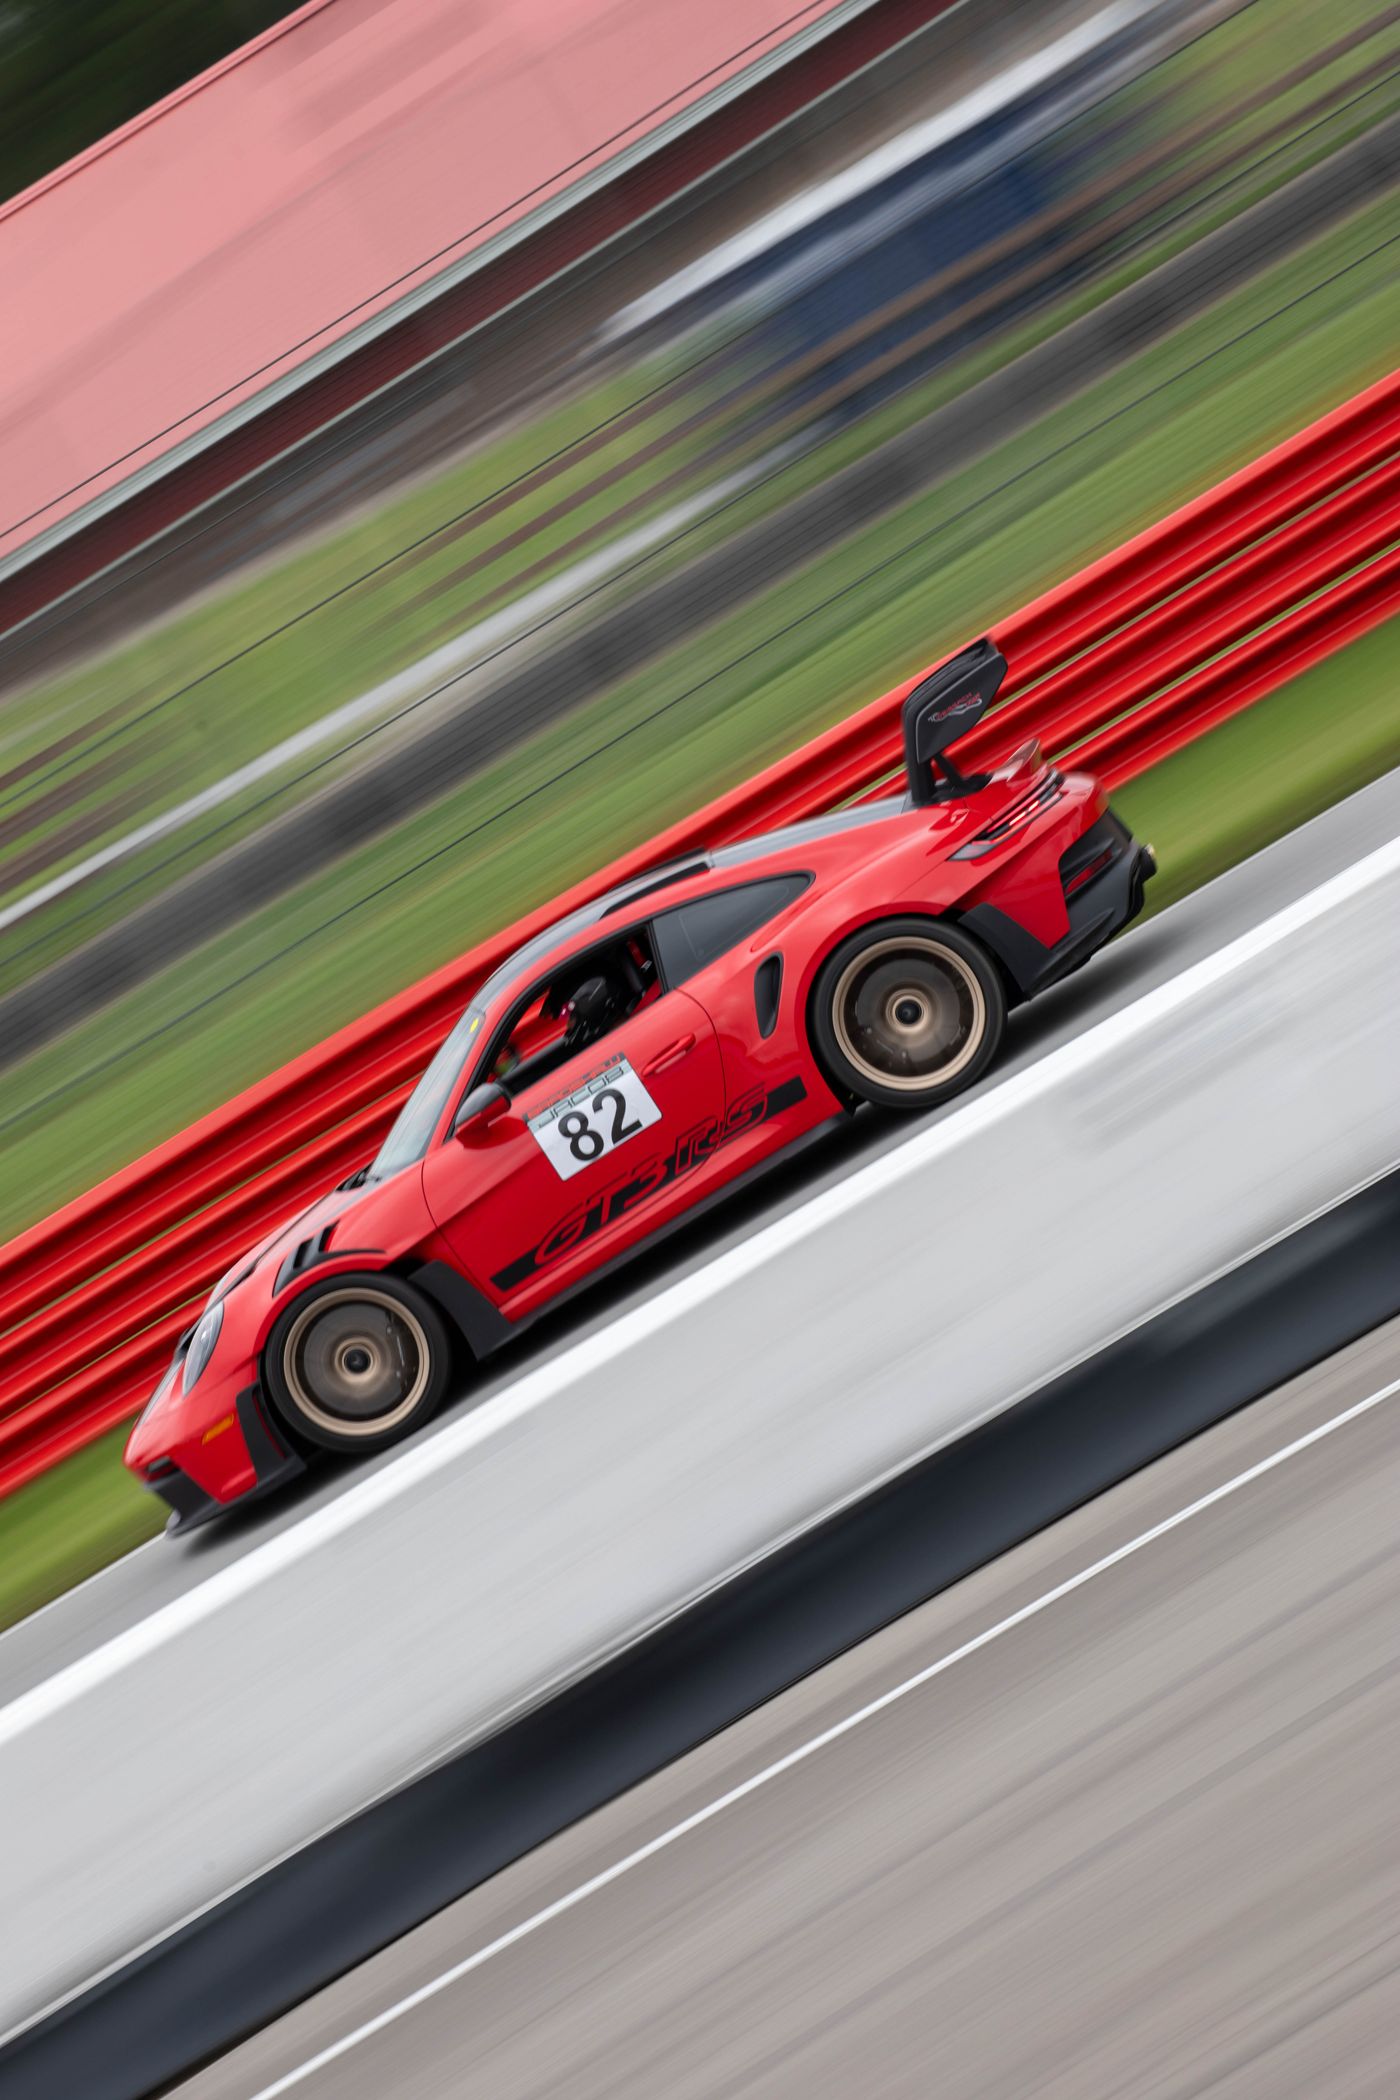
This is the guide we wish existed when we started running Mid-Ohio. Not a lap-video transcription, not a sim guide — a corner-by-corner breakdown of both configurations, built from seat time in the #82 GT3 RS, coaching notes, and the reference materials the club community actually uses. It hangs off our Mid-Ohio database page, and it assumes you already drive at pace: this is about finding time, not learning what an apex is.
One thing before the first corner: Mid-Ohio runs two configurations, and you need to know both. The club course is 2.4 miles and 15 turns, including the chicane after Turn 1 — it is what most HPDE weekends, PCA events, and sports car track days run, and it is what we run most. The pro course is 2.25 miles and 13 turns, bypassing the chicane — IndyCar runs it, and NASA Great Lakes has used it on competition days (May 2025 ran club Saturday and pro Sunday, so a TT weekend can hand you both in 24 hours). This guide covers every corner on both.
Corner numbers: club vs pro
Corner numbering is the first thing that confuses people here, because the two configurations number differently and section names are how locals actually talk. Use this table and you can follow any coach, any video, and any map:
| Section | Club course (15 turns) | Pro course (13 turns) |
|---|---|---|
| Turn 1 | T1 | T1 |
| The Chicane | T2–T3 | bypassed |
| The Keyhole | T4–T5 | T2 |
| Back straight kink | T6 | T3 |
| End-of-straight left (China Beach) | T7 | T4 |
| Uphill right (Madness climb) | T8 | T5 |
| Esses entry left | T9 | T6 |
| The Esses | T10a–T10b | T7–T8 |
| Off-camber right | T11 | T9–T11 (Madness on pro maps) |
| Thunder Valley rights | T12–T13 | T10–T11 |
| The Carousel | T14–T15 | T12–T13 |
Section names — the Keyhole, Madness, Thunder Valley, the Carousel, China Beach — mean the same physical pavement on either layout, which is why we use them throughout this guide with numbers as backup.
What makes the lap
Before the details, the shape of the thing. Mid-Ohio has three acceleration zones that decide your time: the run off the Keyhole down the back straight (longest full-throttle stretch), the run out of the Esses through Thunder Valley, and the run off the Carousel down the front straight. Everything else is about arriving at those three exits with the car pointed right and the tires underneath you. Drivers who chase entry speed here get slower; drivers who protect exits get faster. That is the whole track in one sentence — the rest is execution.
Sector strategy: where the time actually hides
Split the lap into three sectors and the picture sharpens. Sector 1 — start-finish through the Keyhole exit — is decided almost entirely by two things: your Carousel exit from the previous lap and your Keyhole discipline. On the club course, the chicane sits in the middle of it as a pure execution test: there's little time to gain there, but half a second to lose. Sector 2 — the back straight through the Esses exit — is where power matters most and where the China Beach braking zone offers the classic trap: the data will show you braking later lap after lap while your sector time stays flat, because the time you "gained" braking late was repaid in a compromised corner. The real sector 2 gains are Keyhole exit speed (carried the whole straight) and Esses commitment. Sector 3 — Madness through the Carousel — is the rhythm sector, and it rewards the least glamorous skill on the list: doing the same thing every lap. Consistency here is worth more than brilliance, because a scrappy sector 3 corrupts the Carousel and taxes the next lap's sector 1.
When we review data after a Mid-Ohio session, the priority order is nearly always the same: Carousel exit first, Keyhole exit second, Esses minimum speed third, braking points last. Amateurs review it in exactly the reverse order.
Turn 1
The fastest and most committing corner on the track. A 100-plus-mph right-hander at the end of the front straight, slightly uphill on entry with an off-camber dip mid-corner that unloads the car exactly when you want it planted.
The reference that works: turn in at the bridge abutment, late apex three-quarters of the way along the curb, and let the car run out left on exit. Slow hands — the dip punishes a mid-corner correction more than any other spot on the property. In the GT3 RS this is a lift-and-commit corner on the club layout (braking for the chicane comes immediately after); on the pro course it is a breathe or a very short brake depending on tire and fuel.
Common mistake: apexing early because the corner is blind on approach. Early apex here means running out of road on exit while the track falls away. Trust the late apex.
The Chicane (club course only, T2–T3)
The corner that separates the two configurations, and honestly one of the best braking teachers in the Midwest. Full throttle past the Turn 1 exit curb, brake dead straight, then a quick left-right with a bump mid-chicane that will bounce the car offline if your inputs are lazy.
Get the braking done before turn-in — this is not a trail-braking corner, it's a get-slowed-rotate-go corner. Use the curbs; they are flat enough to attack. The exit matters because it feeds the short run to the Keyhole, and a sloppy chicane exit compromises your Keyhole entry line. Mid-corner, maintain the line with throttle until you're past the bump, then set up the Keyhole entry.
If you have only driven the pro course in the sim and show up to a club-course day, this corner is the entire difference — budget your first session around learning it.
The Keyhole (club T4–T5 / pro T2)
The signature corner and the single biggest lap-time lever on the track. A long, 180-degree right-hander that feels decreasing-radius, feeding the longest flat-out section of the lap. We wrote a full corner guide on the Keyhole because it deserves one, but the short version:
Patience is the entire game. Enter slower than your ego wants, apex late — last third of the curb — and prioritize a straight, early-throttle exit onto the back straight. Every tenth you overcook the entry costs you all the way down the straight, which is roughly 20 seconds of consequence for one second of decision. The classic error is a mid-corner "double apex" bobble: getting to the curb early, drifting out, and having to re-turn the car right when you should be unwinding.
The back straight and the kink (club T6 / pro T3)
Flat. The kink is a right-hand bend taken without a lift in anything with aero and most things without; in traffic, hold your line — the kink is a known incident spot when slower cars drift left mid-bend while faster cars commit. On HPDE days the etiquette is simple: slower car holds right through the kink, pass completes on the left before the braking zone. More on that in the passing zones guide.
Use the straight: check gauges, get your breathing done, and pick your braking reference early. You're about to need it.
End of the back straight — China Beach (club T7 / pro T4)
The most consequential braking zone on the track. Downhill entry, left-hander, with the sand of China Beach waiting dead ahead for anyone who overestimates cold tires or brakes. More drivers ruin their day here than anywhere else at Mid-Ohio.
The zone is downhill, which means weight is already forward and rear grip is light — brake early on your first laps and walk the marker in as tires come up to temperature. The corner itself has good camber and takes more mid-corner speed than the braking zone suggests, which is exactly the trap: the corner flatters, the braking zone punishes. This is a genuine trail-braking corner once you're calibrated — brake straight, carry the last 20 percent of pedal past turn-in, and use the camber.
Exit tracks out left, and you immediately want the car back on the left side for the climb.
The Madness climb (club T8 / pro T5)
Uphill right-hander with the apex before the crest. Stay left on approach, apex early enough that the crest doesn't push you wide, and use the uphill grip — the hill is doing your braking for you. What matters here is not this corner but the next three: this is the start of the rhythm section, and your line through T8 sets your entry for the Esses. Blow the climb and you'll be reacting instead of driving for the next ten seconds.
The Esses (club T9–T10b / pro T6–T8)
The best-flowing section of the track and the part everyone undersells. Entry left over the crest (club T9) is a genuine trail-brake corner — brake light, rotate on entry, use the curb, and be patient on throttle. Then the left-right of the Esses proper: driven correctly they're nearly a straight line with throttle modulation, staying about a foot off the curbs rather than attacking them.
The time is in commitment, not curbs. Drivers who treat the Esses as three separate corners scrub speed three times; drivers who see one arc through the whole section carry ten mph more at the exit — and that ten mph rides with you all the way through Thunder Valley.
The off-camber right and Madness proper (club T11 / pro T9–T11)
The corner the PCA notes describe as deserving "great respect," and they're right. It starts on-camber and uphill, then goes off-camber and downhill mid-corner — the grip you feel at turn-in is a lie about the grip you'll have at exit. Long apex, use the curb, and critically: this is not a place to lift. A mid-corner lift here, with the camber falling away, is the classic Mid-Ohio spin. If you got the entry wrong, stay committed at partial throttle and take the wide exit.
On pro-course maps this rollercoaster stretch is labeled Madness (T9–T11), and the name is earned — the elevation reverses twice and the car is never settled.
Thunder Valley (club T12–T13 / pro T10–T11)
The downhill run under the bridge — fast right-hand bends taken nearly flat, walls closer than anywhere else on the track. Stay left under the bridge, then work right to set up the Carousel entry. The second right is quick, early-to-mid apex, and goes off-camber at track-out, so leave margin the first few laps.
Then comes the braking zone that decides more amateur laps than any other: downhill, compressed, into the Carousel. The compression flatters you in the dry — the car squats and grips — and humiliates the unprepared in the wet. Our braking references guide covers the markers in detail.
The Carousel (club T14–T15 / pro T12–T13)
The longest corner on the track and the one with the most lines through it — a near-360-degree right that decides your speed down the entire front straight. Like the Keyhole, it gets its own full guide. The essentials:
Approach from the right, brake into the rise, and relax the brakes over the crest as the corner bends right — braking hard over that hill with the car light is asking for a lock-up or worse. Stay tight to the first apex (club T14); it is very easy to overdrive the entry and pay for it the entire rest of the corner. Patience through the middle, then pick up throttle as the corner opens and use every inch of exit curb onto the front straight.
The Carousel rewards exactly one thing: a boring middle and a violent exit. Drive it backwards from the exit in your head.
The final run
Off the Carousel, it's flat across start-finish and back to Turn 1. On the club course, remember your braking energy math: the chicane arrives fast and your brakes have had no rest since Thunder Valley. Heat management on long sessions shows up right here.
Reference points at a glance
The full method behind these is in the braking references guide; this is the cheat sheet. References are fixed objects — attach your own offsets to them and adjust as grip changes.
| Corner | Braking / approach reference | Turn-in / apex reference | Note |
|---|---|---|---|
| Turn 1 | Breathe or short brake | Turn in at the bridge abutment; apex last ¾ of curb | Off-camber dip mid-corner — quiet hands |
| Chicane (club) | Brake straight past T1 exit curb | Quick left-right; flat curbs usable | Bump mid-chicane; brakes must be done early |
| Keyhole | Braking done early, left side | Apex last third of curb | Exit pays for 20 seconds |
| China Beach | Marker boards on the left | Good camber — more mid-corner speed than it looks | Walk your point in one board at a time |
| Madness climb | Hill does the braking | Apex before the crest | Sets up the whole rhythm section |
| Esses | Light trail at entry left | A foot off the curbs, one arc | Commitment, not curbs |
| Off-camber right | Enter conservative | Long apex, use the curb | No mid-corner lift, ever |
| Thunder Valley | Stay left under the bridge | Second right: early-mid apex | Off-camber at track-out |
| Carousel | Brake into the rise, release over the crest | Tight first apex, patient middle | Exit decides the front straight |
Curbs: what you can use
Mid-Ohio's 2006 resurfacing standardized the curbing, and most of it is usable — with exceptions that matter. The chicane curbs are flat and take a full commitment. The Keyhole and Carousel inside curbs are line markers, not launch ramps: touch them at the apex, don't ride them. The Esses curbs reward restraint — the fast line stays about a foot off, because taking them fully unsettles the car for the next direction change. The exit curbs off the Carousel and Turn 1 are wide and friendly; use every inch. And in the wet, all paint and all curbing everywhere on this track is off the menu — Mid-Ohio's painted surfaces in the rain are as slick as anything in club racing.
Managing the car over a session
Mid-Ohio works tires and brakes in a specific pattern worth planning around. The track is right-hand dominant — the Keyhole, the climb, the off-camber right, Thunder Valley's bends, and the Carousel all load the left side, and the left-front does the heaviest lifting in the two big braking zones. Expect left-side pressures to rise faster; set your cold pressures accordingly and check them after your second session, not your first.
Brakes get their hardest test late in sessions on the club course, where the chicane adds a full stop-class event with no cooling straight before it. If the pedal starts getting long, it shows up at the chicane first — treat that as your cool-down signal, not a challenge. Fuel load matters more here than at horsepower tracks: the car gains meaningful pace as it burns off weight through a session, so don't chase setup changes to explain lap-time drift that's really just fuel.
Grip evolution over a weekend is real and friendly: a NASA or HPDE weekend lays rubber through Saturday, and Sunday morning — cool air, rubbered track — is routinely the fastest window of the weekend. If you're chasing a TT time, that's your session. The August weekend's afternoon sessions, by contrast, will be the slowest track you see all year: hot, greasy, and a full second off morning pace in most cars.
Sim to real: what transfers and what doesn't
Mid-Ohio is well modeled in the major sims, and lap learning transfers — you'll arrive knowing the sequence, the lines, and roughly where the braking zones live. Three things don't transfer. The elevation is dramatically undersold on a screen: the China Beach zone's downhill pitch and the Carousel's entry crest both feel entirely different with your inner ear involved. The off-camber right will surprise you the first time the real car goes light there. And the sim's default layout is usually the pro course — if your weekend runs the club course, the chicane will be brand new at exactly the moment your brakes are working hardest. Bank the sim laps, then treat your first two real sessions as calibration, not confirmation.
Club vs pro: how the lap actually changes
Two real differences beyond the obvious. First, the chicane adds a hard braking zone and a rhythm interruption — same-driver NASA TT results from May 2025 show the club course running about 1.5 to 3 seconds slower than the pro course depending on class, despite only 0.15 miles of extra length. Second, brake and tire load changes: the pro course gives you the full run from Turn 1 to the Keyhole to breathe; the club course never lets the front axle rest. If you're planning tire pressures and pad choice for a mixed weekend, plan for the club course and enjoy the pro day. Full benchmark numbers by class and config are in the lap times guide.
The wet lap
Mid-Ohio in the rain has genuinely low grip — the polite word among regulars is "diabolical." The priority order changes: China Beach braking becomes the lap's biggest risk, the off-camber T11 becomes a genuine spin generator, and the painted curbs everywhere become ice. Wet pace here is set by the driver who scrubs the least, not the one who commits the most. If your first Mid-Ohio weekend turns wet, treat it as free car-control school and lower every entry speed a class.
Building your first fast lap here
If you're new to the track, the order you learn corners matters. Session one belongs to the map — every corner at eight-tenths, no heroics, until the sequence is automatic. Session two belongs to the three braking references: chicane, China Beach, Carousel. Nothing else. A driver with calibrated braking zones and average lines is faster and safer here than a driver with perfect lines and improvised braking. Session three belongs to the two money exits — Keyhole and Carousel — worked deliberately, one change per lap, using your straightaway speed as the scoreboard.
What you should not do early: chase the Esses. The rhythm section is the most satisfying part of the track and the least valuable place to spend novice laps, because commitment there without calibrated references elsewhere is how China Beach gets fed. The Esses come to you as a byproduct of car confidence; the braking zones only come from deliberate work.
Expect the track to come back to you in layers. The first weekend you learn where it goes. The second you learn where the grip is. Somewhere around the fifth you stop steering the middle of the Carousel and realize the car was always going to do it for you — and that's when the lap-time benchmarks start feeling less like other people's numbers.
FAQ
What is the hardest corner at Mid-Ohio? For consequences, the China Beach braking zone at the end of the back straight — it collects more cars than anywhere else. For lap time, the Keyhole and the Carousel: the two long corners feeding the two longest straights. For pure difficulty, the off-camber T11, where the track removes grip mid-corner.
What is the difference between the club course and pro course? The club course (2.4 mi, 15 turns) includes the chicane after Turn 1; the pro course (2.25 mi, 13 turns) bypasses it. Most HPDE and club events run the club course; IndyCar runs pro, and NASA has used both — sometimes in the same weekend. Same-class lap times run roughly 1.5–3 seconds quicker on pro.
Where do you pass at Mid-Ohio? The back straight is the primary zone, the front straight second, with the braking zone into China Beach the main competition passing spot. Full breakdown by run group in the passing zones guide.
Is Mid-Ohio hard to learn? The layout takes a weekend; the lap time takes years. The line is well documented and the corners are honest, but the elevation, camber changes, and three patience corners mean the last two seconds come slowly. That's why it's a great track — nobody buys a lap time here.
What class is your car?
Run your exact build through the TT Engineer — dyno averaging, tire factors, and 2026 class floors computed in about a minute.
Open TT Engineer