
Ask ten drivers what the racing line is and most will trace the same arc in the air with a flat hand: wide, in to the apex, wide again. They're not wrong, but they're describing the shape without the reason — and the reason is the whole point. The racing line isn't a fixed groove painted on the track that fast drivers happen to have memorized. It's the output of a few physical constraints, and once you understand the constraints, you can reason your way to the line on any corner, on any track, in any car, without being shown.
This is the pillar guide for the Bradshaw Autosport Racecraft series. It covers what the line actually is, the physics that produce it, why the "geometric" line you'd draw with a compass is almost never the fast one, how apex placement changes the corner, and how to build a whole lap by linking corners in priority order. Everything else in the series — trail braking, weight transfer, vision, understeer and oversteer — hangs off the ideas here.
The one constraint everything comes from
A tire has a fixed budget of grip. You can spend it turning, spend it braking or accelerating, or split it between the two — but the total is capped. Draw that cap as a circle (the traction circle) and every input you make is a point inside it. Ask for more than the circle allows in any direction and the tire slides.
The racing line is simply the path that keeps the car as close to the edge of that circle as possible, for as much of the lap as possible, in the direction that matters most: forward. That's it. Every rule of thumb you've ever heard — use all the track, get the car straight before you brake, sacrifice the entry to gain the exit — is a specific consequence of that one idea.
Two more physical facts finish the toolkit. First, a car accelerates, brakes, and corners far better when its grip is pointed in one direction at a time rather than split. Second, straights are where speed compounds: a mile-per-hour gained at a corner exit rides with you all the way down the following straight and shows up again at the next braking zone. Hold those three ideas — the traction budget, the preference for one job at a time, and the leverage of exit speed — and the line stops being a mystery.
Radius is speed
The single most useful sentence in this guide: for a given amount of grip, your cornering speed is set by the radius of the arc you drive. Bigger radius, higher speed. So the line's first job is to make the corner's radius as large as the track will physically allow.
That's why you start wide. A corner taken from the very outside edge, cutting to the inside at the middle, and running back out to the outside edge on exit describes a much larger circle than the corner's actual curbing does. You've used the full width of the road to "open up" the turn — to drive a straighter, larger-radius path through a bend that, geometrically, is tighter than the one you drove. More radius means you can carry more speed through the same corner with the same tires. Using all the track isn't tidiness; it's free radius, and radius is free speed.
This is also why running wide of the exit curb, or refusing to use the last foot of track on entry, costs more than it looks. Every foot of width you leave unused shrinks your radius and caps your speed. The track edge is a resource. Spend all of it.
Why the geometric line is a trap
Here's where most drivers get stuck. If radius is speed, the fastest line should be the one with the biggest possible radius — the pure geometric line that clips the exact geometric center of the corner and maximizes the circle. And for a single, isolated corner with a straight before and after of equal importance, that's nearly true.
But corners are never isolated. They sit between a braking zone and a straight, and the straight after the corner almost always matters more than the one before it. The geometric line reaches its apex — its point of closest approach to the inside — at the middle of the corner. That means the car is still turning hard at the exit, still spending grip on cornering when you want to be spending it on acceleration down the following straight. You unwind the wheel late, you get to full throttle late, and you carry that deficit the entire length of the straight.
The fix is to move the apex later. A late apex sacrifices a little entry speed and a little mid-corner radius in exchange for pointing the car down the straight sooner. You turn in a fraction later, aim at a point past the geometric center, and arrive at the apex already rotated toward the exit — so the second half of the corner is nearly straight and you can be hard on throttle while the geometric-line driver is still turning. The entry is slower; the exit and the entire following straight are faster. On any corner that feeds a straight, that trade wins, because exit speed compounds down the straight and entry speed doesn't.
If you take one idea from this section: you don't drive corners to be fast in the corner. You drive them to be fast down the straight that follows.
The apex is a decision, not a place
Because the apex is really just "where you choose to make your closest pass to the inside," it's a lever you set corner by corner. Move it earlier and you get back mid-corner radius and entry speed at the cost of a worse exit. Move it later and you trade entry for exit. The right apex is the one that maximizes speed onto the most important straight the corner touches.
That gives you a simple classification. A corner that dumps onto a long straight wants a late apex — protect the exit at all costs. A corner followed immediately by another corner wants an apex placed to set up the next corner, not the tiny straight between them. A fast kink that barely interrupts a straight wants an early, gentle apex that costs almost no speed. And a decreasing-radius corner — one that tightens as you go — forces a later apex than it looks, because an early apex there runs you out of road exactly when the corner is asking for the most steering. We cover this trade in depth in early apex vs late apex; for now, just hold that the apex moves, and what moves it is the straight you're trying to win.
Slow in, fast out — and what it really means
"Slow in, fast out" is the most repeated coaching phrase in the sport and the most misunderstood. It does not mean crawl into every corner. It means: given that you can only optimize one of entry and exit, optimize the exit, because the exit pays down the straight. The phrase is shorthand for the late-apex trade, not a license to brake too early and coast.
The failure mode it's meant to cure is the opposite instinct — "fast in, slow out" — where a driver carries too much speed into the corner, blows past the apex, runs wide at the exit, and has to lift or add steering just when they want throttle. That entry felt fast and was slow, because it wrecked the exit and the whole straight. The corrected version feels slower at turn-in and is faster everywhere it counts. Trust the stopwatch over the seat-of-the-pants thrill; the corner that feels heroic on entry is usually the slow one.
Getting the car straight: the braking-line connection
The line and the braking are one system, not two. Because the tire can't spend its whole grip budget braking and cornering at once, the classic approach is to do the heavy braking in a straight line — all grip pointed at slowing down — then release the brakes as you add steering, blending from one job to the other. That blend is trail braking, and it's what lets the line and the braking overlap smoothly instead of fighting.
Practically, this means your turn-in point and your brake-release point are linked. Brake too late and you're still hard on the pedal at turn-in, the front tires are saturated, and the car pushes wide of your intended line. Brake too early and you've thrown away radius and speed you can't get back. The line you can actually drive is the one your braking allows you to set the car up for — which is why drivers who fix their braking often find the "line" suddenly available to them. The line wasn't the problem; the entry to it was.
Building a lap: corners have a pecking order
A lap isn't nine or thirteen independent corners. It's a chain, and some links matter far more than others. The corners that lead onto the longest straights are the ones where lap time is won and lost, because a mistake there costs you speed for the longest time. The corners between two other corners — the connectors — matter less in isolation and more for how they set up what follows.
So you prioritize. Walk or drive the track and rank the corners by the length and importance of the straight each one feeds. Then build your lap backward from those priority corners: nail the exit of the corner onto the long straight, and accept a compromised entry or a compromised connector before it if that's the price. A driver who is perfect through an unimportant connector but a tenth late to throttle onto the main straight has traded a dime for a dollar. The whole art of linking a lap is knowing which corners to sacrifice so the important ones are perfect.
Our corner-by-corner guide to Mid-Ohio is this idea worked out in full on one track: which corners are the priority corners, which are connectors, and where the compromises live. If you drive Mid-Ohio, read the line here and the corners there together.
Compromise corners and the sacrifice line
Some sequences make the priority explicit. A double-apex complex, an esses section, or two corners linked by a short chute all force you to drive one of them off-line to drive the other one right. This is the sacrifice line: you deliberately give up the ideal line through the first corner — apex it early, run a tighter radius, accept a slower mid-corner — so you're positioned to hit the second corner, the important one, perfectly.
Beginners fight this. They want every corner to feel right, so they drive each in isolation and arrive at the important corner out of position. Fast drivers are comfortable driving a corner "wrong" on purpose. The line through the first half of an esses often looks clumsy in isolation and is exactly correct in context. When a corner feels like a compromise, ask what it's setting up — the answer is usually the next braking zone or the next exit, and the compromise is the point.
The line is not fixed: car, grip, and conditions
The geometry gives you a starting line, but the real fast line shifts with the machine and the day. A few of the big movers:
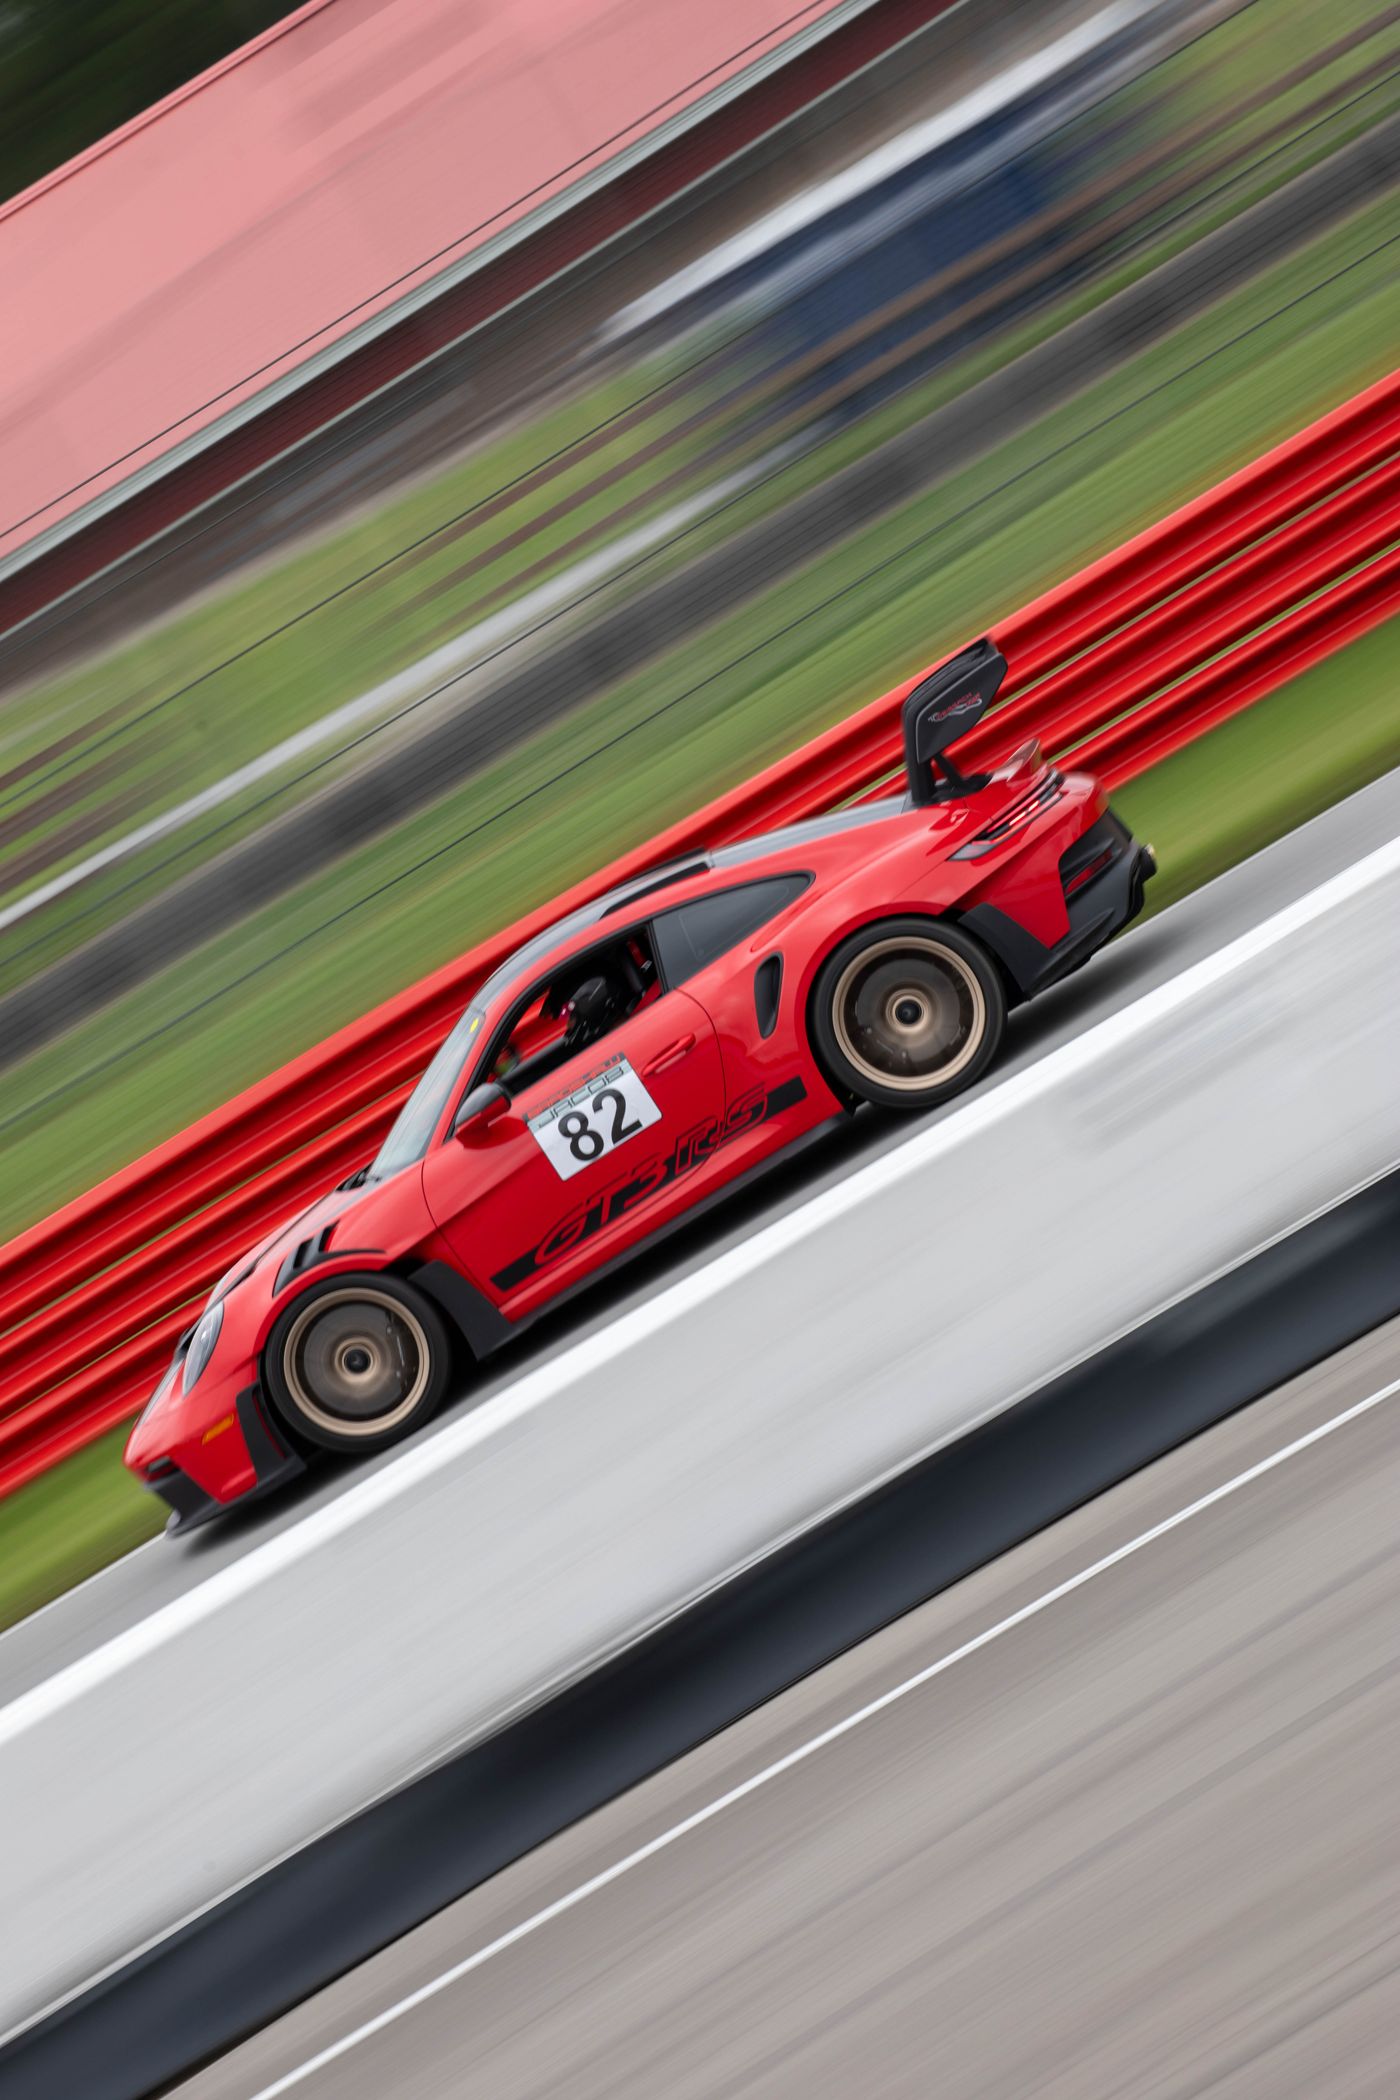
Power and weight. A heavy, powerful car cares even more about exit than a light, low-powered one, because it can convert exit speed into a huge advantage down the straight — so it wants an even later apex to get straight sooner. A momentum car with little power lives on entry and mid-corner speed and can run a slightly earlier apex, protecting the radius it can't afford to lose. Our GT3 RS is firmly in the first camp: with that much power and aero, protecting the exit is almost always the right call, and the line reflects it.
Aerodynamics. A car with real downforce has more grip the faster it goes, which changes the whole calculus in fast corners — the fast line in an aero car uses more of the track earlier and rewards commitment, because lifting sheds the very downforce that was holding you. Momentum you'd protect in a low-grip car, you can lean on in an aero car.
Grip level. In the wet, off-line, or on cold or worn tires, the traction circle shrinks. A smaller circle means smaller cornering speed for the same radius, which pushes you toward tighter, more patient lines and, famously in the rain, off the rubbered-in dry line entirely to find grip on the cleaner pavement. The line moves to find grip, and reading where the grip is becomes part of driving the line.
Tire wear over a stint. As tires go off, the circle shrinks gradually and asymmetrically. The line you drove on fresh rubber becomes unavailable, and the fast driver adapts — usually toward smoother inputs and slightly earlier, more conservative apexes that ask less of the fading front. Managing the line as grip fades is its own skill, and it's why raw one-lap pace and race pace are different games.
Feel, references, and how the line becomes automatic
You don't drive the line by geometry in real time — there's no compass in the cockpit. You drive references: a turn-in point (a curb seam, a marker board, a patch of pavement), an apex point (a specific curb, a cone, a crack), and an exit point (the piece of track edge you're aiming the car at). String those three references together and your hands and feet reproduce the line without conscious calculation. Building good references is most of what "learning a track" actually is.
The apex reference deserves special attention: you don't aim at the apex, you aim past it, at the exit. Vision leads the line — your eyes go to the exit point while the car is still at turn-in, and the car follows your eyes. Drivers who stare at the apex arrive at it and then have to figure out the exit; drivers who look through to the exit drive a smooth, connected arc because they saw the whole corner before they committed to it. This is why vision is inseparable from the line, and why it gets its own guide in the series.
Common line mistakes and what they really are
Turning in too early. The most common and most expensive error. An early turn-in produces an early apex, which runs you wide at the exit, which forces a lift onto the straight. It feels natural because the corner is right there and you want to point at it — and it's slow everywhere it counts. The cure is patience and a later turn-in reference.
Not using the exit curb. Leaving track on the exit means your radius was smaller than it needed to be, which means you cornered slower than the tire allowed. If you're not running out to the paint on exit, your apex was too early or your entry too timid.
Apexing the connector. Driving the little corner between two big ones as if it mattered, and arriving at the big one out of position. Connectors serve the corners around them.
Chasing entry speed. Carrying more speed to turn-in than the exit can absorb. Feels fast, kills the straight. The stopwatch is the referee, and it almost always sides with the disciplined entry.
Copying a faster driver's line in a different car. A line optimized for a momentum car can be actively wrong in a powerful one and vice versa. Understand why the fast driver is where they are before you copy where they are.
Where to go from here
The racing line is the skeleton; the rest of the Racecraft series is the muscle that moves it. Weight transfer explains why the car responds to your inputs the way it does and how to keep the platform settled through the line. Trail braking is how you connect the braking zone to the line without upsetting the car. Understeer and oversteer is how you diagnose and fix the car when the line isn't available. Vision is how you actually execute the line at speed. And early vs late apex drills into the single most important decision the line asks you to make.
Read them in any order, but read them against real corners. Take the ideas here to our home track guide, watch how the priority corners and compromise corners play out on an actual lap, and the line will stop being a shape you memorize and become a thing you can reason out for yourself — which is the entire goal.
FAQ
What is the racing line? It's the path around a corner that lets the car carry the most speed where it matters most — usually onto the following straight — by maximizing the corner's radius and getting the car straight for acceleration as early as possible. It's not a fixed groove; it's the result of the tire's grip budget and the layout of the corner.
Is the racing line always the same for every car? No. The geometry gives a starting point, but powerful and aero cars favor later apexes that protect the exit, while light momentum cars favor earlier apexes that protect mid-corner speed. Grip level, tire wear, and conditions move the line too.
Why is the late apex faster than the geometric apex? Because the corner exists to feed a straight. A late apex sacrifices a little entry and mid-corner speed to point the car down the straight sooner, letting you get to full throttle earlier and carry that advantage the whole length of the straight — where speed compounds.
How do I find the racing line on a track I've never driven? Rank the corners by the importance of the straight each one feeds, prioritize the exits of the corners onto the long straights, use all the track width to maximize radius, and place each apex to win the most important straight it touches. Then build references — turn-in, apex, exit — and let feel take over.
Follow the program
Track guides, TT strategy, and the Bradshaw Autosport race program — straight from the paddock.
Get in touch